
Eggs-tremely Cute Easter Mini Project | Easter Needle Felting Tutorial | How To Needle Felt 3 Easter Eggs in a Basket
Ever wondered what to do with your spare bits and bobs of Mammoth or Super Fine Merino Yarns?
If you’ve arm knitted a blanket, created a rug or even had a go with our extreme knitting yarns to make a dog bed, giant granny square or floor cushion, you may have found that you had some scraps of yarn left over.
We urge you pop them away in the box to rummage through when you fancy having a go at needle felting. They are so handy for these quick and easy little crafting projects that can be completed in an evening. Once you get going, shaping yarn and wool using needle felting techniques becomes really intuitive and you’ll be addicted!
Here’s a quick DIY project tutorial for using your left over spare yarns for Easter crafting; this super cute needle felted mini egg and nest decoration. Follow this step by step guide to create your own…
How To Needle Felt The Easter Nest
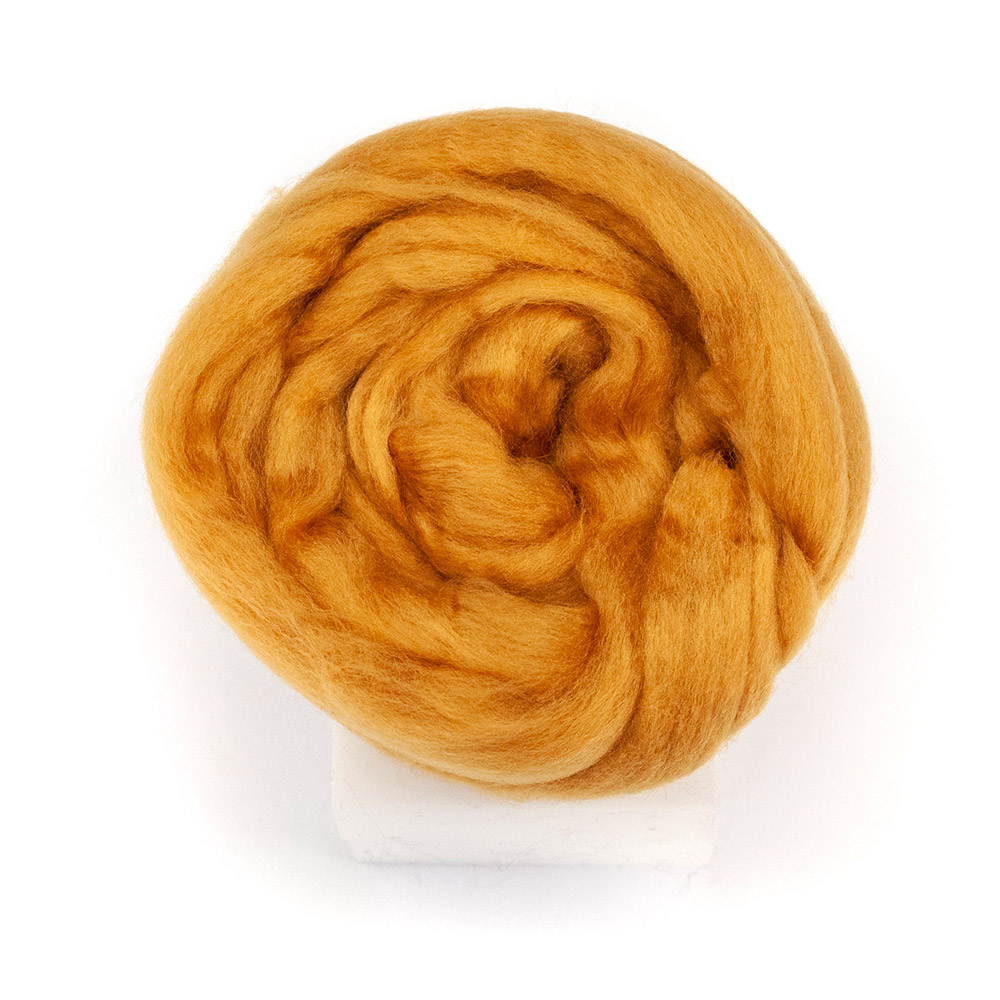
Using the spare yarn colour of your choice, obviously depending on what you’ve got left over, you’ll need approx. a 90cm length (or 20grams) of either Mammoth acrylic or superfine Merino yarn to make a nest around 9cm in diameter and 4cm in height.
You can make it smaller or bigger depending on what yarn you have going spare, this is just a guide, If you don’t have enough of one colour, why not combine two? Or three?
Also dimension and shape wise each project can be quite unique depending on how tightly you felt together and where you focus your needle to shape.
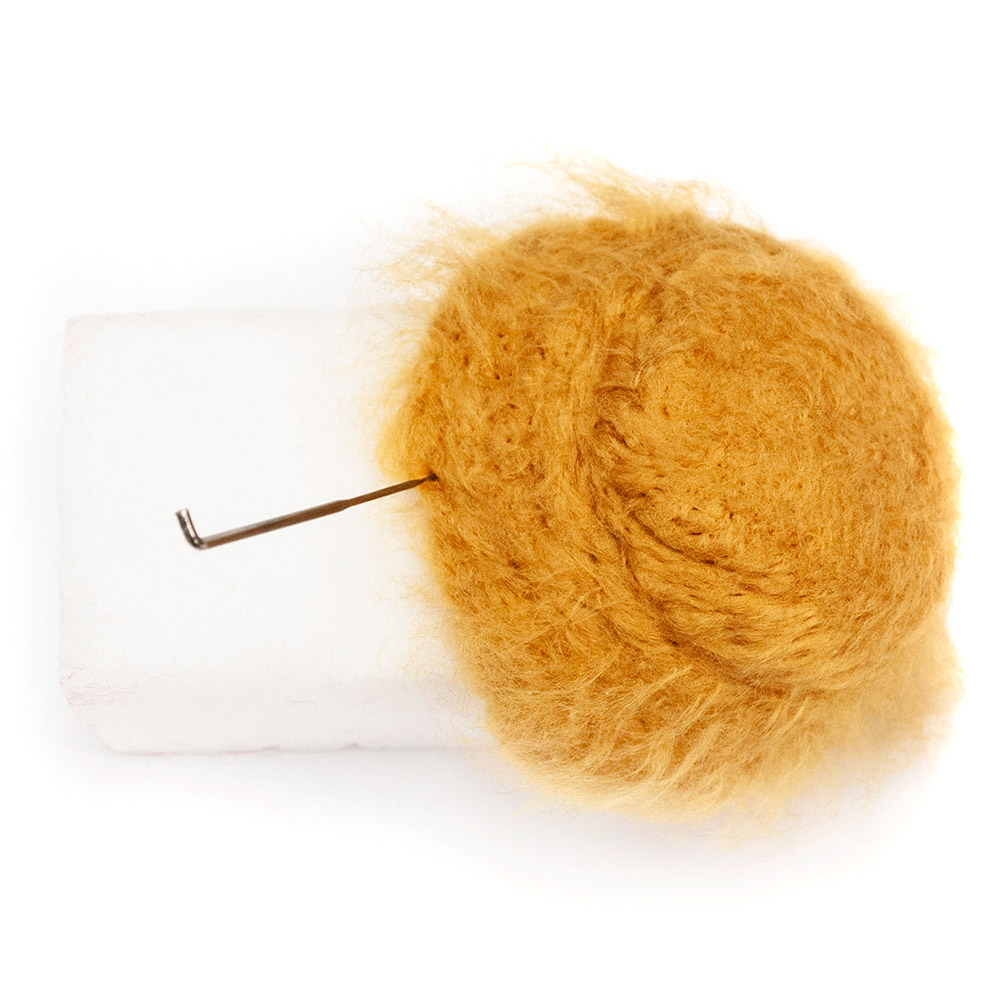
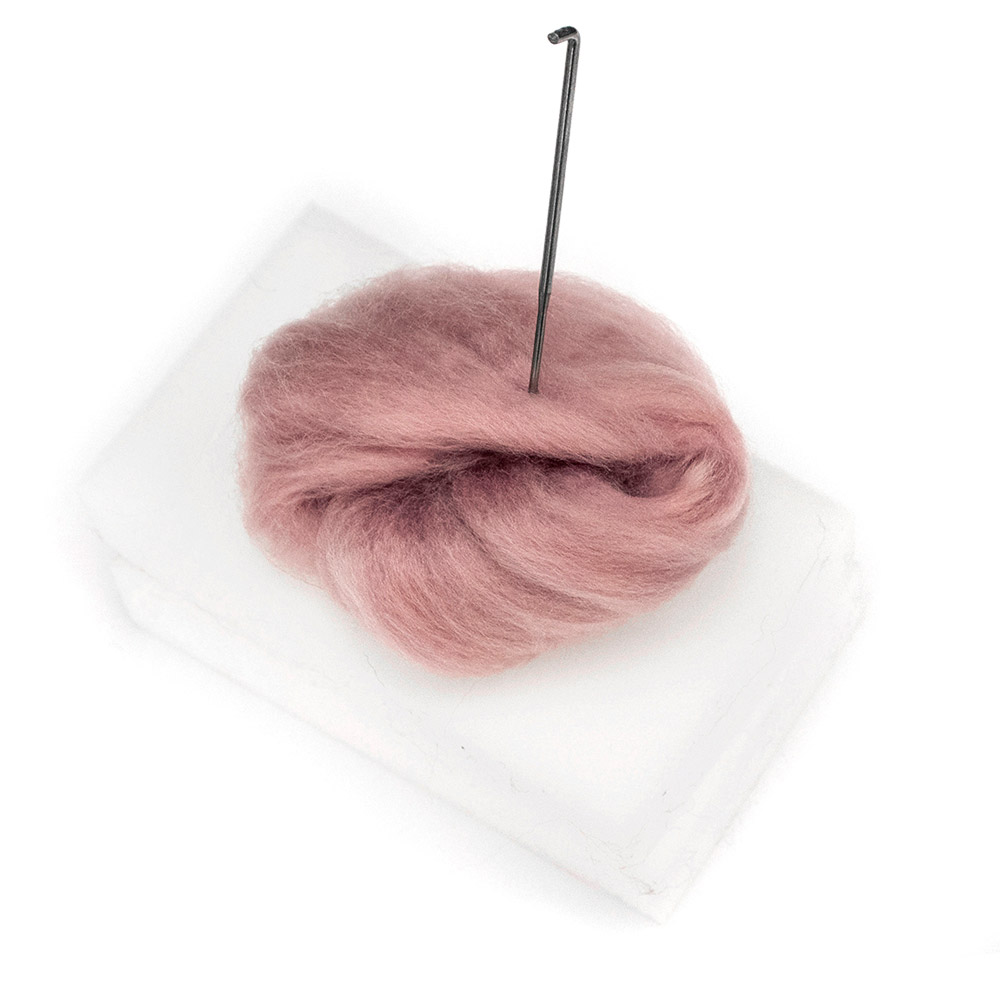
STEP 1
Using foam blocks to protect your table, twist the yarn into a circle shape (like a Danish pastry!) and place it onto the blocks.
STEP 2
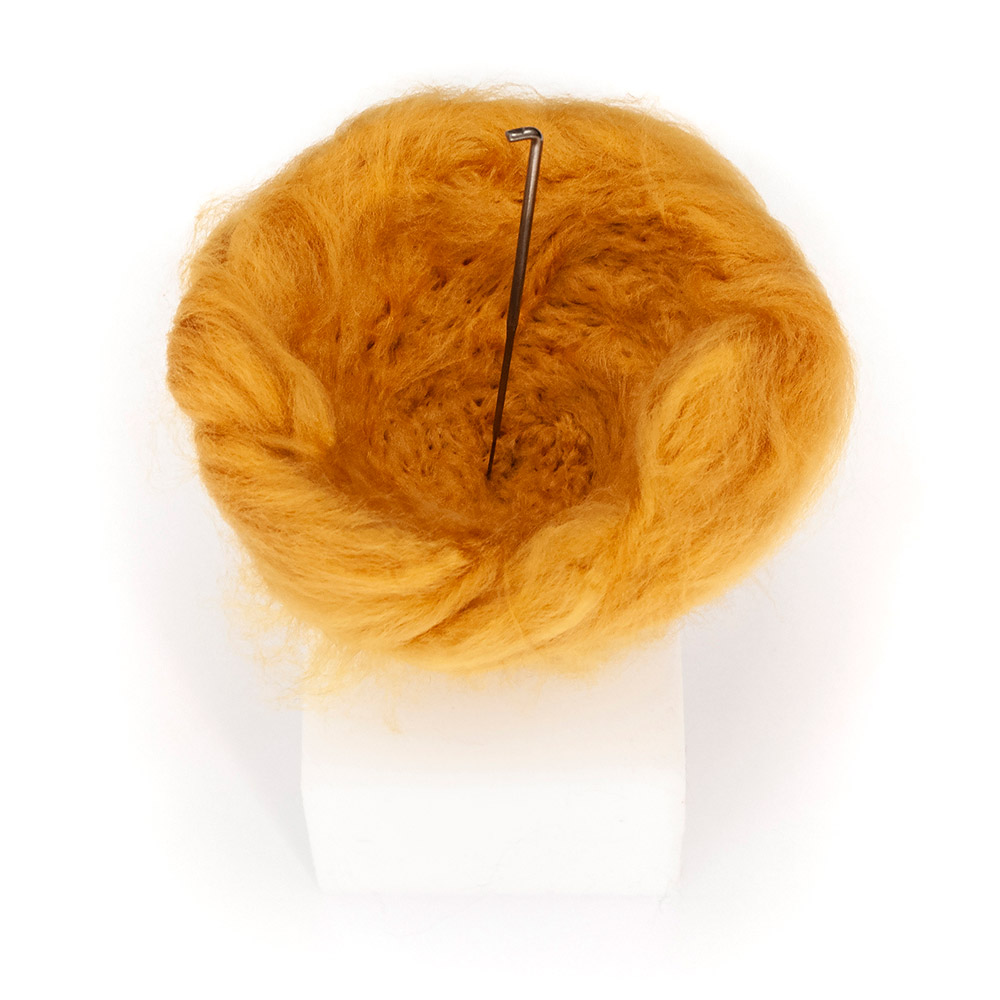
The technique is really simple, it is literally just stabbing up and down through the layers of yarn. Generally going all the way though will bind it together (the little teeth of the needle grab the fibres) or working more lightly on the surface will add detail.
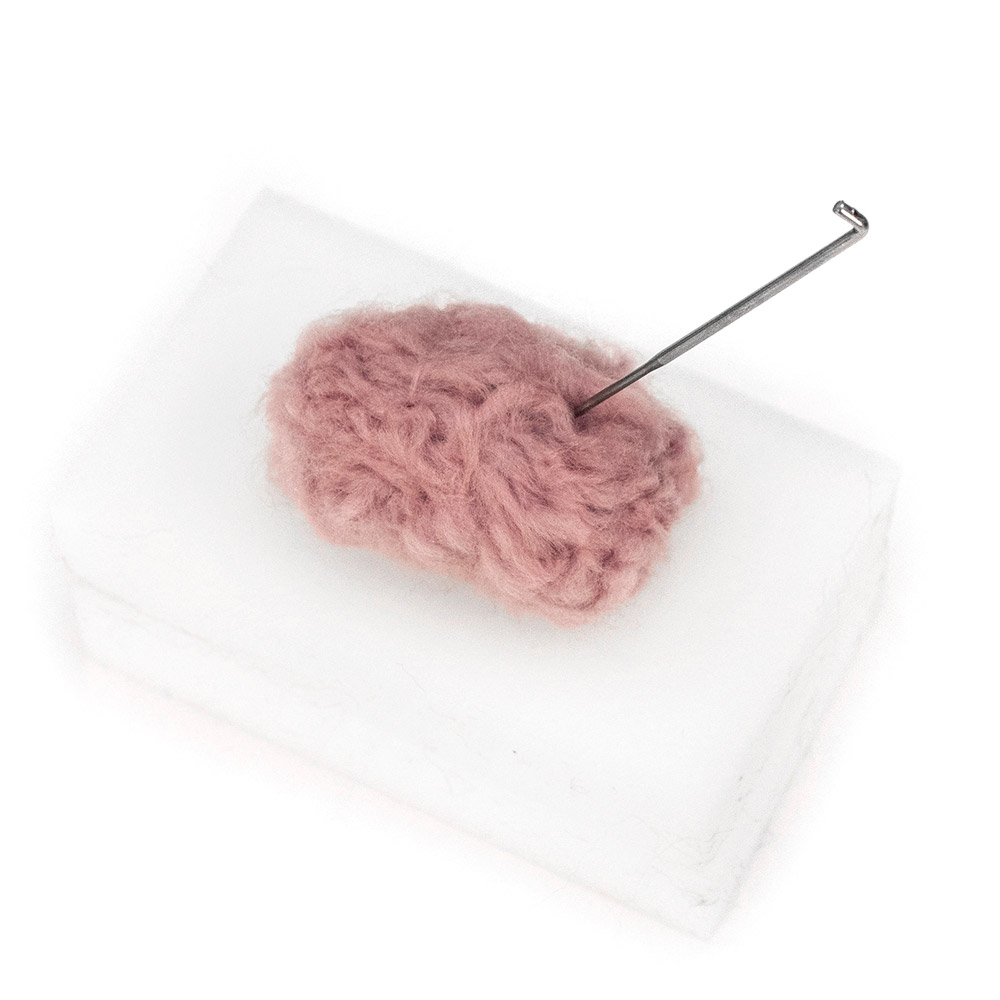
Work into the centre of the yarn first in a circular direction, lifting the yarn regularly to make sure it doesn’t stick too much to the foam blocks. If you have different sizes of needles, use a thicker one first and change over to thinner once the work starts to become more matted. The needle should work through easily, if you have to force it you risk breaking the needle.
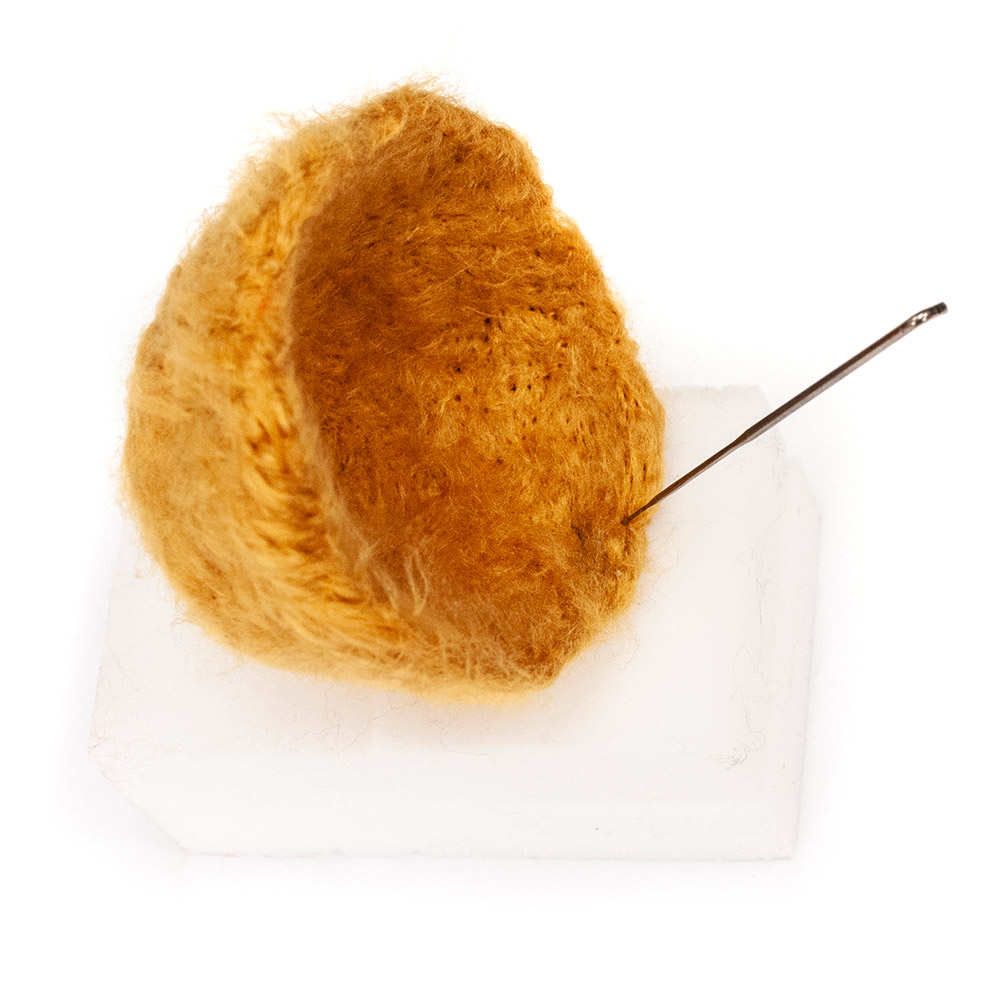
STEP 3
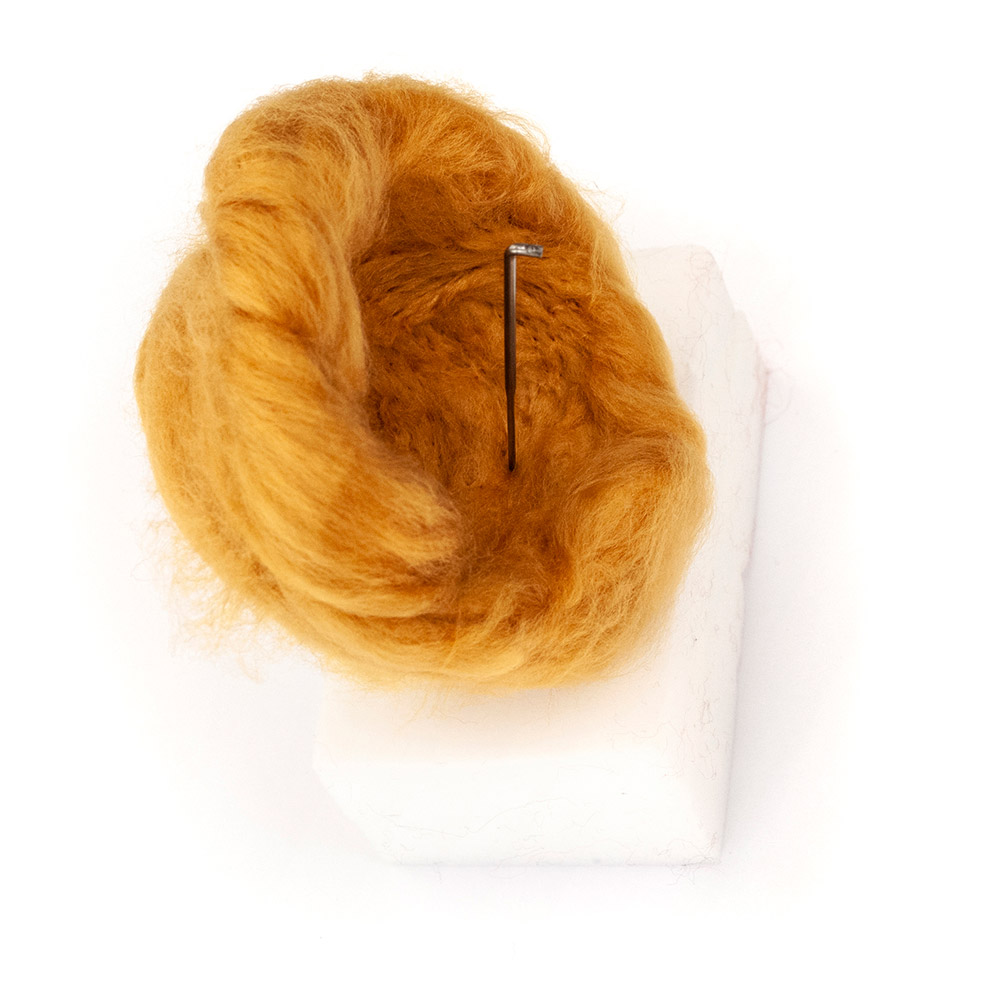
Place the nest onto its side and start to work into the curves of the insides, again, lifting and rotating the work frequently, working all the way around.
STEP 4
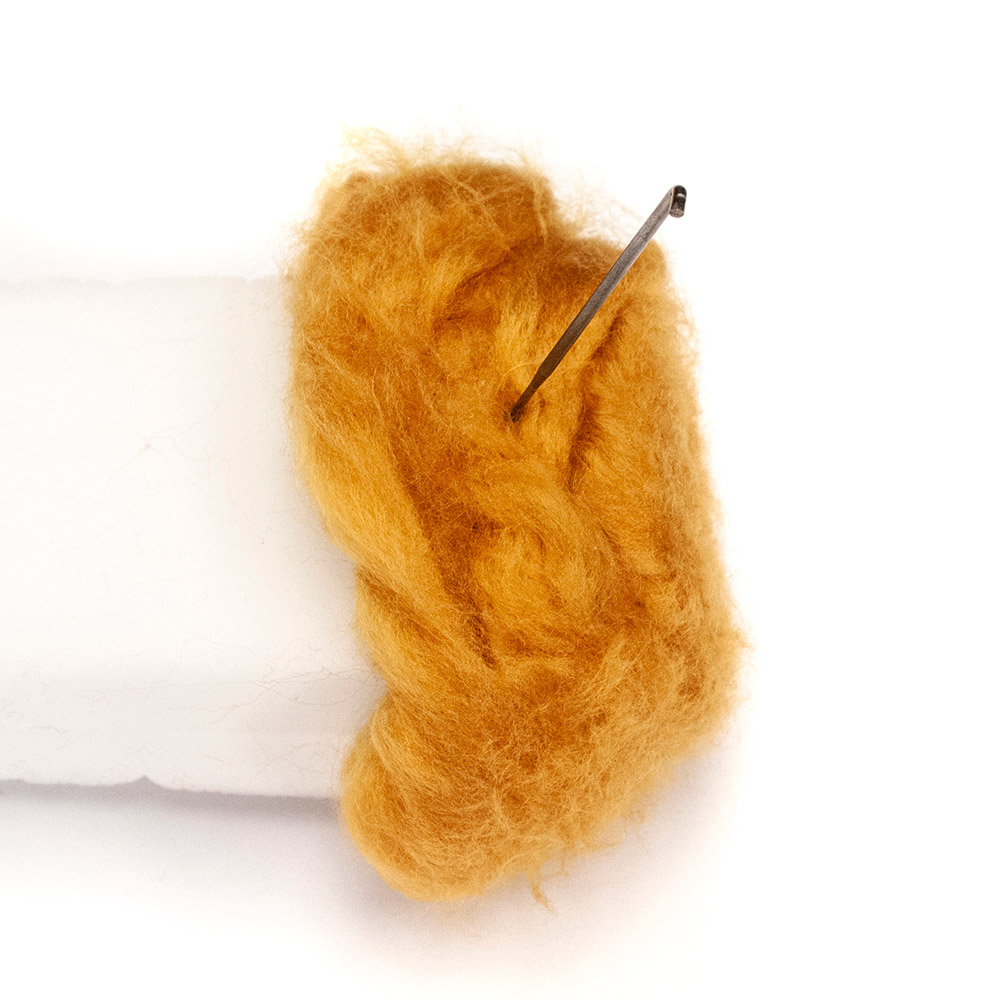
Placing the foam blocks inside the nest, start to shape the outsides. As before, lifting and rotating regularly, working all the way around.
STEP 5
You may find you need to keep repeating steps 2, 3 and 4 until the nest is starting to take shape. When ready, you can start to concentrate working more definition into the edges of the nest, starting with the inside.
STEP 6
Turning the work and placing the blocks into the inside again, you can now create more definition onto the outer edge of the nest.
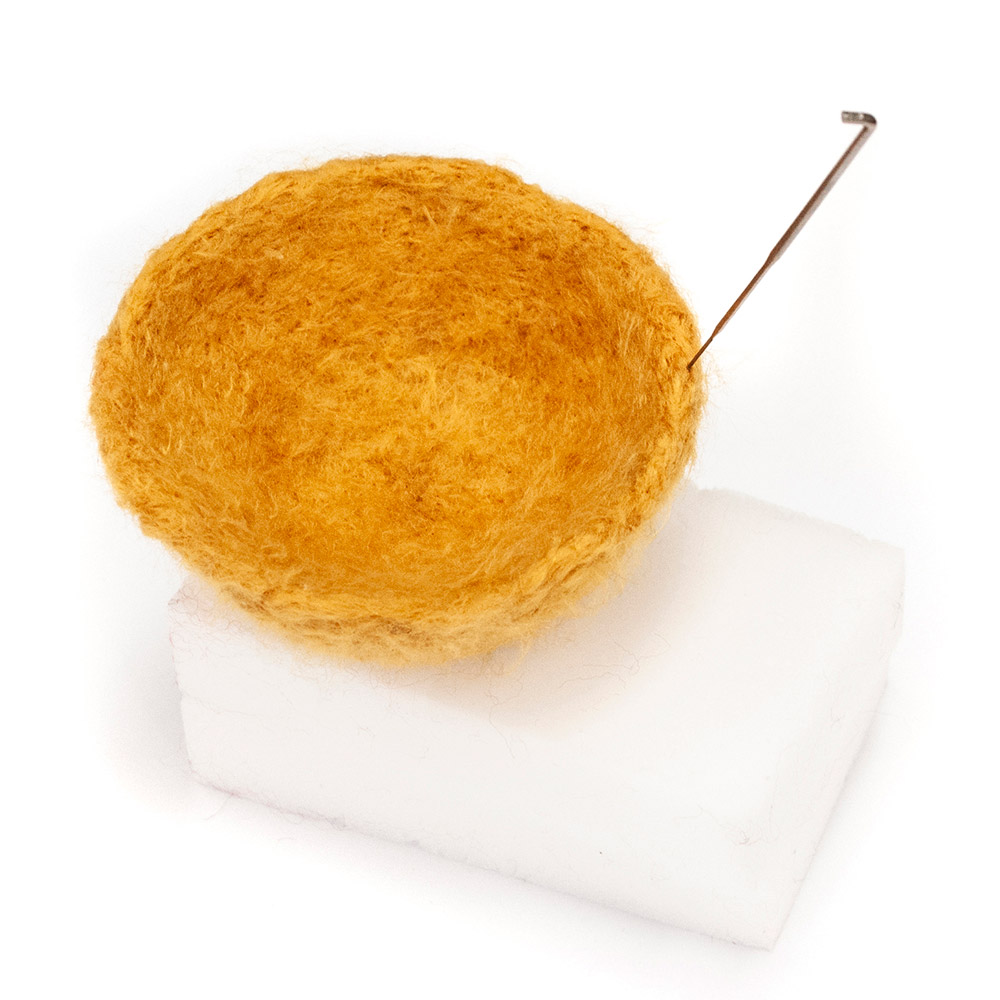
STEP 7
Depending on your desired effect, you may wish to work a flatter finish into the bottom of the nest so that it doesn’t roll around when placed on a table. Simply stab up and down on the underside surface to create flatness.
STEP 8
The very outer edge on the top may need some definition but it is entirely up to you if you’d like to leave it as a raw edge. In fact, you may not create too much definition throughout to give more of a textured, fluffy straw effect. Your choice :).
How To Needle Felt The Easter Eggs
For the mini eggs, you can make them as small as you like, but as a guide, we used approx. 5cm length (3grams) of Mammoth yarn per egg.
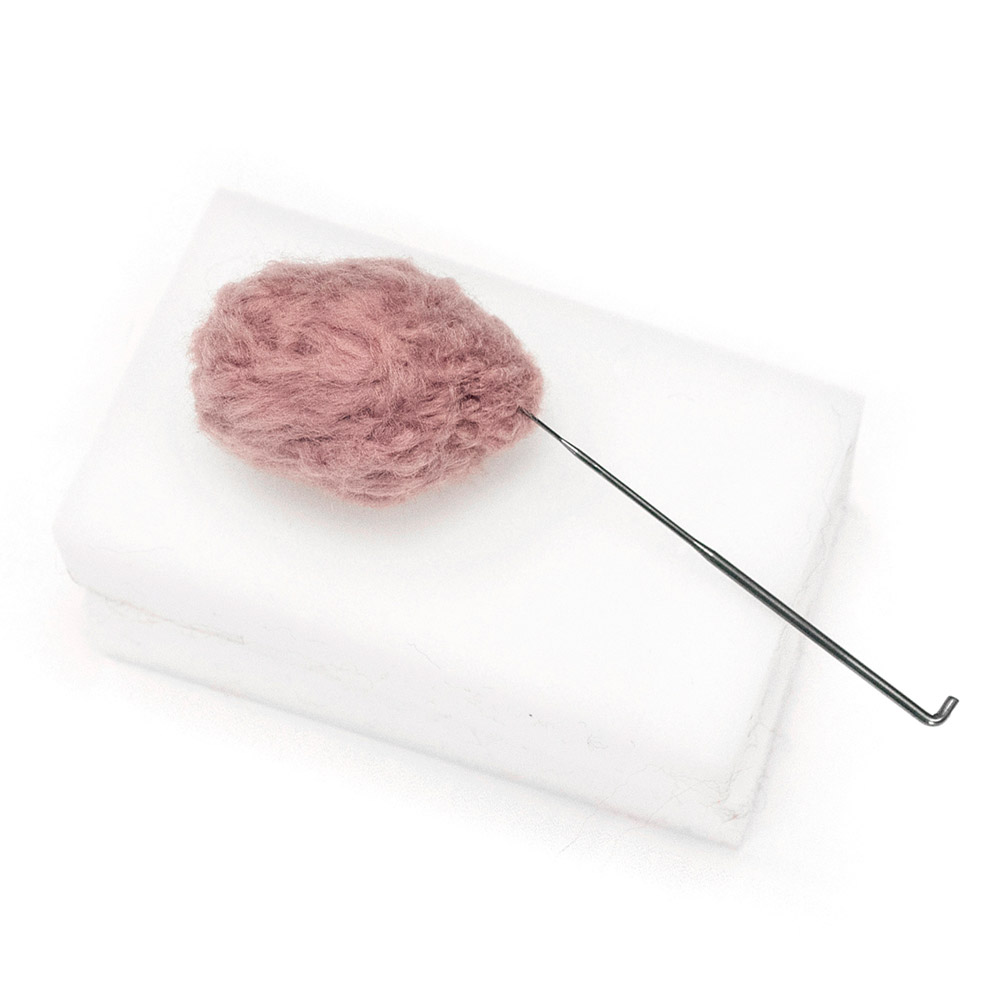
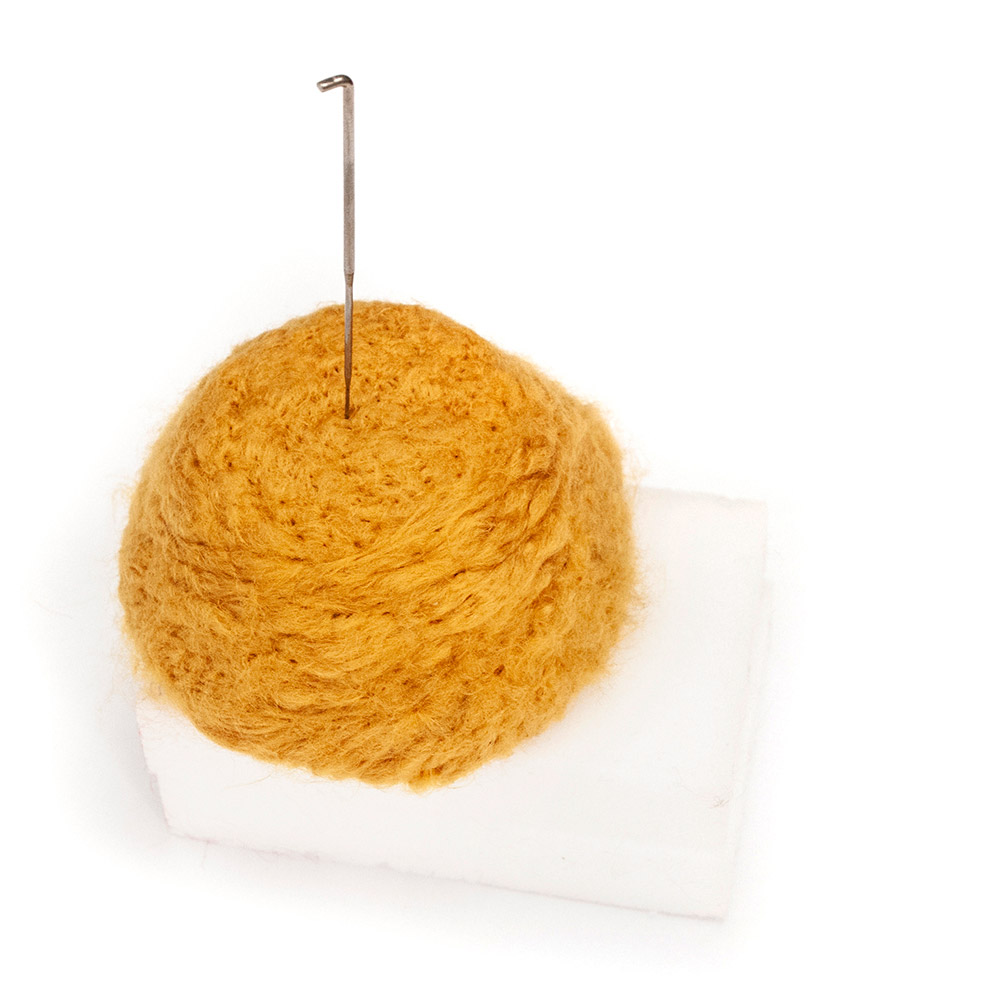
STEP 1
Placing it in a twisted ball onto the foam blocks, work roughly into a ball shape. Lifting and rotating as you go, starting with a bigger needle if you have one.
STEP 2
Switch to a smaller needle if you have one as the work starts to become too thick to easily stab through, add more definition to the centre, rotating as before.
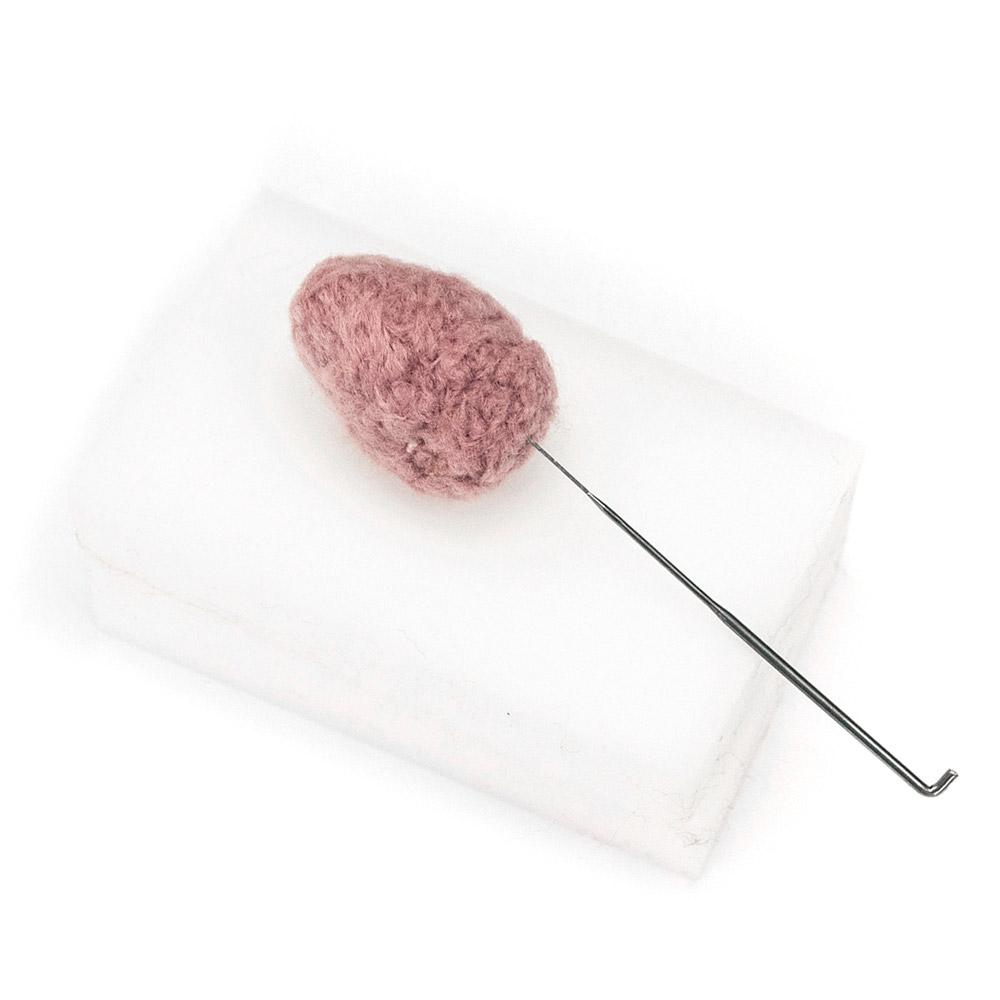
STEP 3
Decide which end of the egg is to be slightly more pointed and work more into this side to matt the yarn tighter.
STEP 4
The opposite end needs to be a bit flatter, so work into the very end of the egg and generally shape
all around to create a smoother finish. Repeat for as many Easter eggs as you’d like!
NOTES
To create our mini Easter egg and nest decoration we have used spare Mammoth Yarn in Mustard for the nest and Pink, Sky Blue and Light Teal for the eggs.
We advise a lot of caution when needle felting as the needles are incredibly sharp, so make sure to keep your fingers out of the way!
(Just a heads up, that this is not intended as a toy and due to small parts should be kept away from very small children)
Have a go yourself and don’t forget to share your amazing work with us by tagging us on Instagram! @woollymahoosive

0 Comments